Tile flooring is one of the most durable and attractive options for kitchens, bathrooms, mudrooms, and entryways — but only when it's installed correctly. Improperly installed tile fails: it cracks, pops, develops hollow spots, and eventually fails entirely. The difference between a tile floor that lasts 30 years and one that starts showing problems in 3 years is almost entirely in the preparation and installation process, not in the tile itself. Here's what every homeowner in Chicago's northwest suburbs should know before starting a tile flooring project.
Step 1: Subfloor Assessment and Preparation
The single most important factor in tile floor longevity is the subfloor beneath it. Tile is rigid — it cannot flex. Any movement in the subfloor (from bounce, softness, or inadequate thickness) will transfer into the tile and cause cracking. The standard requirement for ceramic and porcelain tile is a deflection of no more than L/360 over the span of the floor system (L is the distance between supports in inches). This means a 12-foot span can deflect no more than 1/3 of an inch — much stiffer than most wood-framed residential floors.
In practical terms: if you can feel noticeable bounce walking across your floor, tile over it will likely crack. Solutions include sistering joists from below, adding a second layer of plywood (or using a specialty floor-stiffening underlayment), or installing an uncoupling membrane (Schluter DITRA or similar) that isolates the tile from subfloor movement.
Step 2: Choose the Right Tile for Your Space
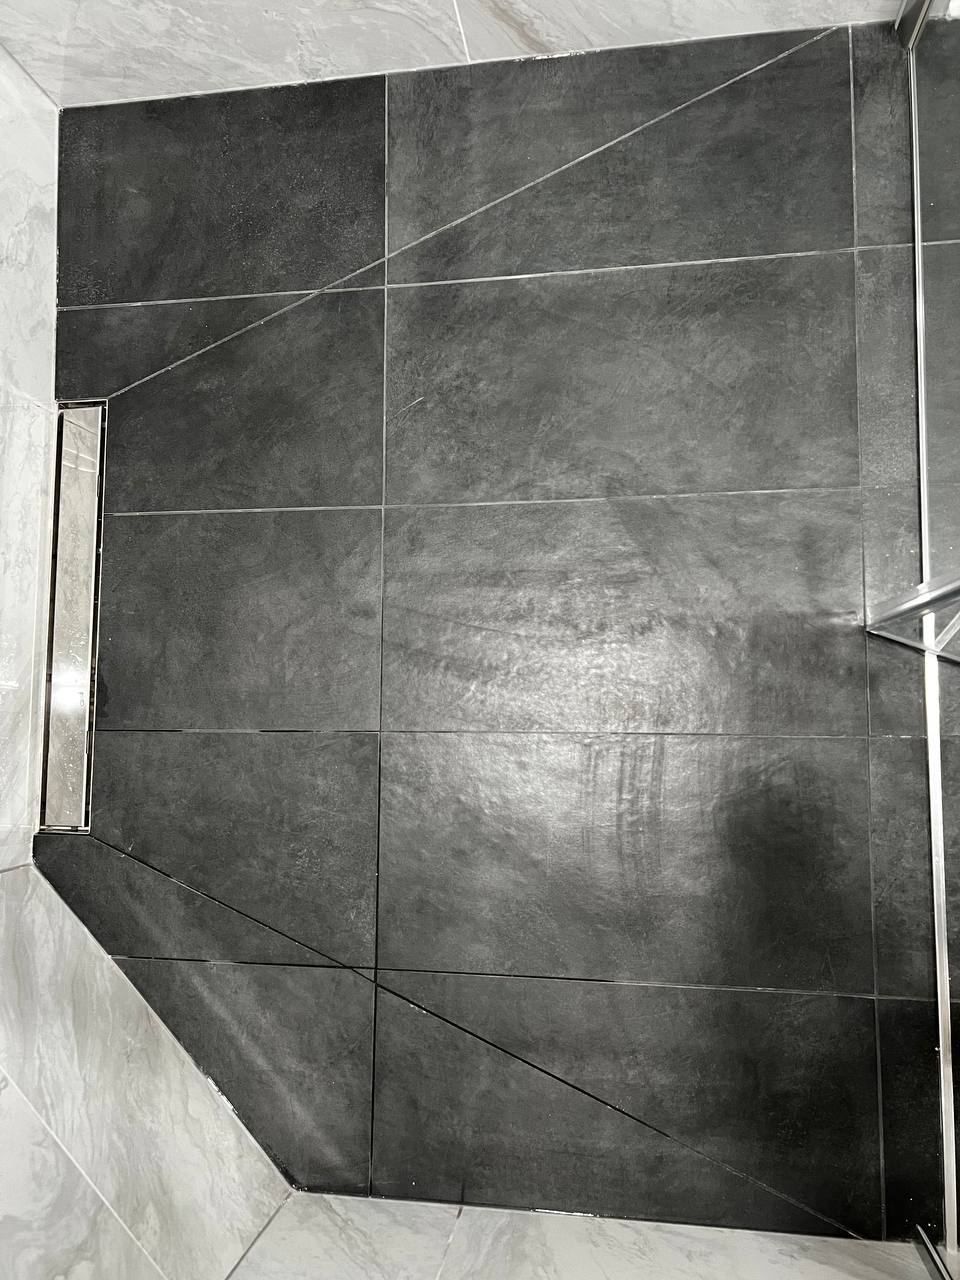
Porcelain tile is the workhorse of floor tile applications. Dense, hard, virtually impervious to moisture, and available in any format and style, it's appropriate for every room in the house. PEI rating (hardness for floors) of 3 or higher for residential floors; PEI 4–5 for high-traffic areas and commercial use.
Ceramic tile is less dense than porcelain and absorbs slightly more water. It's appropriate for most residential floors but less suitable for wet areas or exterior use.
Natural stone (marble, travertine, slate, quartzite) is beautiful but requires more maintenance. Stone is porous and must be sealed regularly. Some stones — particularly polished marble — are slippery when wet and inappropriate for bathroom floors without a textured or honed finish.
Slip resistance matters for floors. The DCOF (Dynamic Coefficient of Friction) should be at least 0.42 for residential floor applications and at least 0.60 for wet areas. Most porcelain floor tiles sold in the US meet these standards, but always verify if you're considering polished finishes.
Step 3: Layout Planning
Never start tiling from a corner. Professional tile installers find the center of the room, establish perpendicular layout lines, and work outward so that cuts on both sides of the room are equal. For large-format tile (12×24 or larger), layout planning also involves accounting for tile lippage (unevenness at joints) — these tiles require especially flat, properly prepared substrates and precision installation to look correct.
Step 4: Mortar Selection and Application
Using the correct mortar is essential. Large-format tile requires a medium-bed or large-tile mortar that supports the tile's weight and allows for the back-buttering necessary for full coverage. Coverage should be a minimum of 95% under the tile in wet areas — incomplete coverage creates hollow spots where tile can crack. Your installer should be applying mortar with the proper notch trowel size for the tile format being used.
Step 5: Grout and Sealing
Grout selection affects both appearance and maintenance. Unsanded grout is for joints 1/8″ or narrower; sanded grout for joints wider than 1/8″. Epoxy grout is highly stain-resistant and nearly impervious to moisture, making it ideal for kitchen and bathroom floors, though it's harder to install and more expensive. Cement-based grout should be sealed within 72 hours of installation and annually thereafter in high-traffic areas.
For natural stone floors, the stone itself needs to be sealed before grouting and again after. Using the wrong sealer on marble or limestone can cause staining and discoloration that's very difficult to reverse.
Need tile flooring installed correctly across your northwest suburbs home? Hammer Remodeling LLC provides tile installation from Buffalo Grove to Des Plaines. Call (331) 231-2157 for a free estimate.
Hammer Remodeling LLC has served homeowners across Chicago's northwest suburbs for over 20 years. We specialize in bathroom remodeling, kitchen renovation, tile & flooring, and home repairs — with a licensed crew that does every project ourselves, no subcontractors.